Bring A Goddamn Posse
The Bring A Goddamn Posse mission was added to Red Dead Online with the May 14 title update. It is accessible regardless of your Honor level and has three phases. This is a 2-4 player mission.
First, you need to head out to the marker that begins the mission, found southeast of Valentine and southwest of the Heartland Oil fields. If you accept the mission, matchmaking will automatically begin. After the cutscene which is triggered by enough players joining ends, you’ll need to head to the Sheriff’s Office in Valentine. Here, another cutscene will play.

The town is preparing to fend off an attack from Montez’s men, and you are joined by NPC volunteers to help in the fighting. You can lock onto these NPCs and have them follow you to key strategic points where you can then place them to provide cover fire. Later, a group of enemy bandits will attack the town once all players have taken up positions at the markers.
You’ll all be behind cover by the time the enemies arrive, so taking out the first wave will be easy. You’ll need to keep an eye on your mini-map, since attackers will be coming from multiple directions and you’ll be flanked if you’re not careful. Some enemies will spawn on balconies giving them the advantage of the high ground. Keep an eye on your health and heal up during quiet moments.
Once you’ve eliminated enough opponents, another cutscene of Montez’s war wagon will play, which will be your new target. You’ll need to grab the dynamite from the gunsmith and use that to destroy it. The gunsmith is located right next to the war wagon, in the thick of the enemy bandits. If you go around back routes instead of taking the direct road you’ll have to face fewer enemies.
Once you’ve grabbed the dynamite, leave the gunsmith and throw it at the war wagon. Due to the large AoE damage of the dynamite explosion, you don’t need to worry too much about aiming – just make sure it’s near the wagon. After this Montez’s men will flee. Killing the fleeing opponents is optional, and the mission is complete.
The Hanging Of Tom Davies
The Hanging Of Tom Davies is a mission that is unlocked after you complete Bring A Goddamn Posse, and is accessible regardless of Honor level. It contains two phases, and is a 2-4 player mission.
First, you’ll need to go to the mission marker in Cholla Springs, located at Old Man Jones’ house. Here, once you accept the mission, matchmaking will commence and a cutscene will play, after which you’ll need to ride out with Jones to Tumbleweed, where yet another cutscene will play. Montez’s men are trying to execute Marshall Davies, who you need to save.
After the cutscene is over, you need to hurry to Davies and prevent his hanging by either shooting or cutting the rope. This should be your absolute priority, as if Davies is killed you fail the mission. Once the execution has been halted, you must clear out the remaining enemies from the area. The mission will only proceed when they’re all dead, so you’ll need to keep an eye on your minimap to pinpoint their locations.
Once you’ve dealt with Montez’s men, you’ll need to free the Sheriff and Davies by interacting with their bodies. Once they’re free, the second phase of the mission begins where you’ll need to protect their carriage. You can ride shotgun on the carriage or on your horse, but we suggest picking the latter due to the freedom of movement. The carriage moves automatically, so you only need to worry about hostiles.
You need to fend off the attackers while moving, so track where they’re coming from on your minimap to prepare your defense. Eventually the road will intersect with some train tracks, and an incoming train will force the carriage to halt. While you should hug the carriage close while en route, here it’s advisable to move more freely in order to hunt down the most attackers. Once the train has passed and the carriage is on the move again, a cutscene will indicate the end of the mission.
Destroyed By Grief
The Destroyed By Grief mission is unlocked by completing The Hanging Of Tom Davies mission and is narratively the final mission of the second story arc with three phases. It is available regardless of Honor level and is a 2-4 player mission.
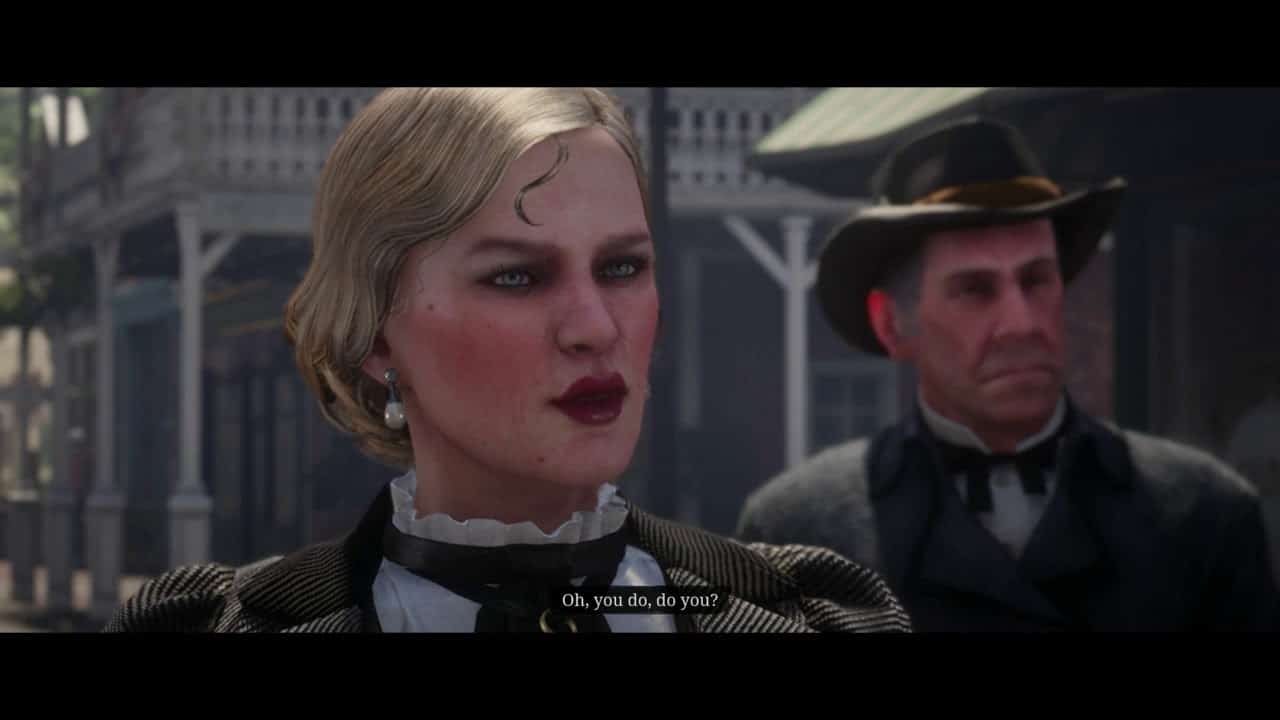
The mission marker is at the post office in Blackwater. Here, you’ll need to access your satchel to read the letter from Horley. This will activate a new marker at Quaker’s Cove, just south of Blackwater, that will trigger the mission in earnest. Following the matchmaking process and the initial cutscene, you’ll need to escort Horley and Ms. LeClerk to Blackwater.
Once in town, you’ll need to select where to be stationed while protecting Ms. LeClerk – the ground beside her or from the rooftops. The latter choice is tactically superior as it grants you the advantage of the high ground. After a cutscene, you’ll need to protect Horley and LeClerk from attackers on the ground and on other rooftops, which is another reason why this choice is better.
When the cutscene ends, you’ll automatically enter Dead-Eye. Make sure you take full advantage of this and eliminate as many enemies as you can before exiting Dead-Eye. Once you’ve killed off the attackers, you’ll need to join up with Horley and LeClerk again, escorting them to the city hall where Horley will retrieve vital documents. Since you’ll be on the move, the best way to stay alive is to always go from cover to cover, without ever lingering out in the open.
If you can, go for headshots during this part of the mission to eliminate enemies as quickly as possible. After this, you’ll escort your allies to their wagon, which you’ll need to protect as you escape Blackwater. Several enemies will attack you during your escape, and you should be on your horse to be mobile. The trail leads north, and a cutscene will eventually mark the end of the mission.