Sodom? Back to Gomorrah
Sodom? Back to Gomorrah is the ninth Story Mission in Chapter 3 and the 34th Story Mission in all of Red Dead Redemption 2. The mission is available after completing the “Preaching Forgiveness as He Went” mission earlier in the chapter. To begin the mission, talk with Bill Williamson at the Clemens Point camp.
Outlaws do all sorts of bad things for money, and the more dangerous the job, the better the money. Following the botched Blackwater robbery, the Van der Linde gang avoided doing anything too dangerous, but Bill and Karen think that the time has come to finally rob the bank in Valentine. The two expect the job to be quite lucrative, so they ask Arthur for help in dealing with the little resistance they expect to meet.
Once Arthur agrees to help, the crew will start riding to Valentine, but before this, Strauss will ask Arthur to go recover some money in Downes Ranch whenever he can. Once in Valentine, you will leave your horse by the Gunsmith to proceed on foot toward the bank. At this point, Karen will ask Arthur how to proceed. You have Karen play the lost girl or the drunk harlot. Both are extremely hilarious, so choose the one you prefer.
Once Karen starts her “show”, the others will get close to the bank’s entrance. Put on your bandana to conceal your face and then storm the place. Keep all customers covered until you are asked to open the teller’s door. Bring him into the back room and force him to open the vault. He will take his sweet time, so you can choose to beat him to make him go faster. Once the door is open, Arthur will be able to loot a few different safes.
To earn the Gold Medal for this mission you have to loot all the safes found in the vault. To open each safe, you have to crack them. Get close to a safe and press the triangle button or the Y button to begin. Rotate the left stick counterclockwise slowly, and stop once you feel the controller vibrate heavily. Next, repeat the same procedure by rotating the stick clockwise. Again, repeat the procedure by rotating the left stick counterclockwise once more. Repeat this for all safes to loot their content.
Once you are done with the safes, it’s time to escape the scene of the crime. Head out of the bank and remove your bandana. Sadly, this won’t be enough to prevent the law from coming after you, as you will be pursued on the way out of town.
To get the Gold Medal in this mission, you will have to complete it without taking any health item, complete with at least 70% accuracy and headshot 5 mounted lawmen during the escape. You don’t have a lot of time to get the 5 headshots, as the pursuit will only last from the outskirts of the town until the first train track. Make sure to have a full Dead Eye bar to get them and be as accurate as possible.
Once past the train track, Arthur will give each of his fellow gang members their share, and the crew will split, each outlaw returning to the Clemens Point camp separately. Arthur still has something to do, however, he must head to Downes Ranch as Strauss asked him earlier in the mission. You have to reach the ranch within 1 minute and 55 seconds to obtain the Gold Medal for the mission. It’s not particularly difficult to do so, so just ride your horse hard and restore its Stamina with a Horse Stimulant if needed.
Once at Downes Ranch, Arthur will collect some money the gang was owed. After this has been done, Arthur will head back automatically to camp and the mission will be complete.
Advertising, the New American Art – II
Advertising, the New American Art – II is the tenth Story Mission in Chapter 3 and the 35th Story Mission in Red Dead Redemption 2. The mission is unlocked after completing “The Course of True Love III” mission earlier during the chapter. To begin the mission, you have to talk with Abigail Marston at the Clemens Point camp.
At the beginning of the mission, Abigail will tell Arthur that Hosea and John are looking for him near the moonshine stash, the same one that was been recovered from the Lemoyne Raiders during the “American Distillation” mission.
Reach the point marked on the map and talk with Hosea, who will inform Arthur of a plan regarding the stolen moonshine. The old outlaw will tell Arthur that he intends to sell the moonshine back to the those they have stolen it from, which is a very bold and risky plan. Arthur will climb up on the wagon and ride to Braithwaite Manor.
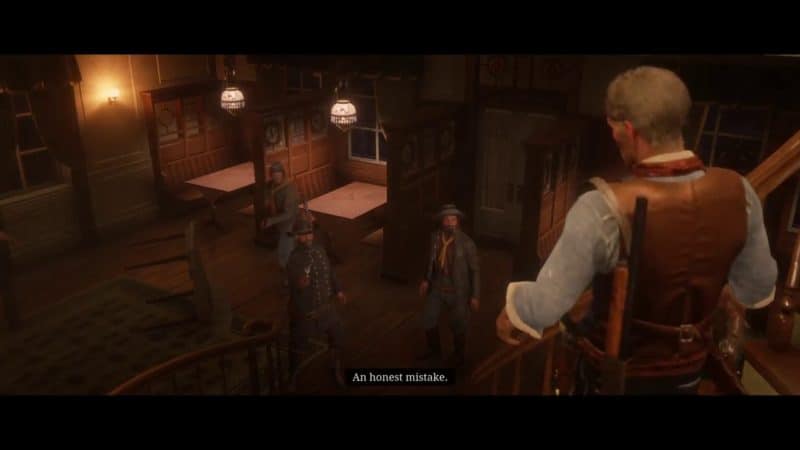
Once at the manor, the two outlaws will be stopped at the entrance. The guards eventually let them in, but under heavy guard. Eventually, Hosea and Arthur will be able to talk with Catherine Braithwaite, and Hosea will be able to get a deal that sees the two outlaws giving away moonshine at the Rhodes saloon, which is run by the rival Gray family.
Ride to Rhodes without damaging the wagon and park it in the area marked on the map. Once this is done, pick the moonshine and follow Hosea to the back of the bar. Once inside, Arthur will become the tavern’s most loved bartender, pouring moonshine like there was no tomorrow. Follow the button prompts as needed.
Eventually, the Lemoyne Raiders will enter the saloon. A few not so nice words will be exchanged and the shooting will begin.
To get the Gold Medal, you need to complete the mission with at least 90% accuracy, headshot 5 Lemoyne Raiders in the saloon and complete the mission without taking any health item. Since you need to be extremely accurate, it’s best to always activate Dead Eye when shooting. There aren’t a lot of enemies inside the saloon, so it shouldn’t be too hard to avoid getting damaged and be accurate at the same time.
Once you have dealt with the enemies on the ground floor, head up to save Hosea. Then, you will finally make your escape. Reach the wagon and jump on. Hosea will drive, so it will be up to you to fight off the remaining Lemoyne Raiders. To avoid getting damaged too much, always use Dead Eye while shooting and get rid of the enemies quickly.
Once all of the enemies have been killed, Hosea will pull over to allow Arthur to get down. At this point, the mission will be complete.
Magicians for Sport
Magicians for Sport is the 11th Story Mission in Chapter 3 and the 36th Story Mission in Red Dead Redemption 2. The mission is unlocked after completing “The Course of True Love III” mission earlier in the chapter. To begin the mission, you have to talk with Dutch at the Clemens Point camp.
According to reports from Josiah Trelawny, the Van der Linde gang has been stirring up a bit of trouble and bounty hunters are starting to go after them. Dutch isn’t particularly concerned, but he prefers to look into the matter before things escalate. He wants more information from Trelawny himself, and he sends Arthur and Charles to talk with him.
Once you gain control of Arthur, speak with Charles, get on your horse and ride to Trelawny’s current location, which is just outside of Rhodes.
Upon reaching Trelawny’s caravan, however, it’s clear that something is amiss. The man is nowhere to be found and the caravan has been ransacked. You now need to search for clues and to get the Gold Medal for this mission, you will have to inspect all the clues found in the Caravan.
There are three clues to check out. Activate Eagle Eye and inspect the sandwich on the side table, the bed and the rag in the washtub. Once all the clues have inspected, Charles will discover some tracks, which should lead to Trelawny.
In order to get the Gold Medal for this mission, you need to stay within 30 feet of the trail. This isn’t particularly difficult to accomplish: activate Eagle Eye, highlight the track and stay very close to it. Reactivate Eagle Eye every now and then to keep the track highlighted. After following it for a while, you will reach a camp with a few strangers.
Arthur and Charles will question the strangers, but it seems like they have no idea who Trelawny is. They are lying, of course, as the man’s cane is in the camp. The strangers are actually bounty hunters, so take down the one attacking you and then head over to the other to question him. Trelawny has apparently been taken to a cabin near Braithwaite Manor. Get to the cabin together with Charles to find the bounty hunters and Trelawny.
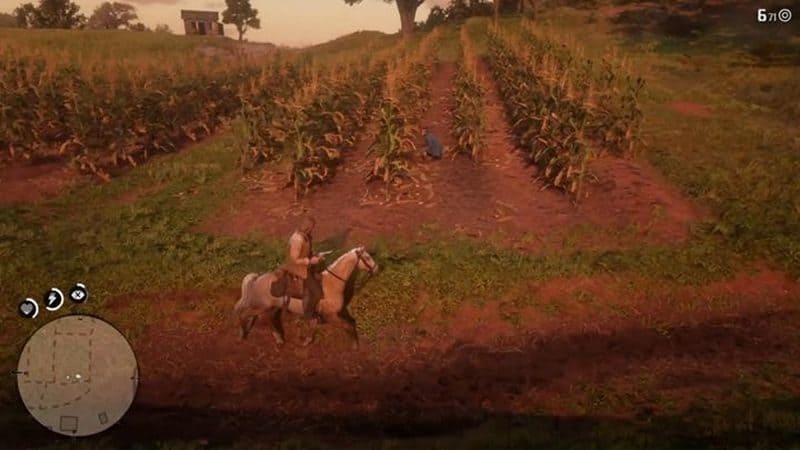
Not the bravest bounty hunters around, they decide to run and hide into the nearby fields. Trelawny will tell the two outlaw to focus on the hunters, and things now become decisively more complicated if you’re aiming to get the Gold Medal.
To get the Gold Medal, you need to complete the mission without taking any health item and kill two Bounty Hunters in the cornfields within 1 minute. The second objective is much harder to accomplish, as the Bounty Hunters can only be damaged once they reach the cornfield.
There are two ways to complete this objective. The first one is to equip any Sniper Rifle and wait on the hill above the cornfield. Keep an eye on the birds flying away to pinpoint the location of any Bounty Hunter, and finish them off with a single shot. The second method is luck-based – it involves following one of the bounty hunters as they run towards the cornfield and killing him on the spot, then hoping it won’t take too long to find the second.
Once two Bounty Hunters have been killed, a third will drop his equipment bag in the field. Charles will inspect it while Arthur tries to find the man. Search nearby until you are assaulted by the enemy. Charles will kill him and rescue Arthur from a dangerous situation.
Once this is done, two more Bounty Hunters will appear. Take them down with Dead Eye to avoid damage and head back to Trelawny. Help him on his horse and the mission will be complete.
Horse Flesh for Dinner
Horse Flesh for Dinner is the 12th Story Mission in Chapter 3 and the 37th Story Mission in Red Dead Redemption 2. The mission is unlocked after completing the “Advertising, the New American Art – II” mission earlier in the chapter. To start the mission, you need to head to Caliga Hall.
Always the true gentlemen, the guards at the entrance of Caliga Hall stop Arthur from entering the property, but eventually let him pass when they hear he’s there for business. Head over to the stables in the southern part of the property to meet with Tavish Gray, the patriarch of the family. He will tell Arthur and John about some prized horses owned by the Braithwaites and how he wants the outlaws to steal them for him without the crime being linked back. Tavish Gray also directs the outlaws to two dealers who specialize in stolen horses and who can pay much better than others for any stolen horse.
Always on the look for some good money, Arthur and John accept Tavish’s proposal and set out for the Braithwaite Manor in search of these horses, together with Javier. The two make up a plan of pretending to be interested in buying the horses to steal them. Once in front of the stables, interact with the stable hand to get him to show you the horses and kill him while he is turned around. This is also a requirement for getting the mission’s Gold Medal. Make sure to kill him silently so to not attract attention.
Once the stablehand is dead, approach the white horse and calm it down to be able to lead it out of the stables. Once out, John will tether the stolen horses to Javier’s horse and it will be time to get away from the manor as quickly as possible. Sadly, the Braithwaites noticed something is amiss and they will fight you.
To get the Gold Medal, you will have to get 5 headshots during the pursuit sequence. It’s not difficult at all to clear this objective, as there are plenty of available targets during the sequence. Use Dead Eye if you’re not feeling confident in your shooting abilities.
Once the pursuit sequence is done, one of the horses will try to escape. Run after it as soon as it tries to run away and use the Lasso to capture it and bring it back to the group. You need to be extremely quick here, as the horse needs to be captured back within 10 seconds to get the mission’s Gold Medal.
When the escaped horse is brought back to the group, the outlaws will finally reach the horse dealers. Sadly, things will go worse than expected, as the two dealers will pay way less than anticipated. Still, money is money, so Arthur will split what has been obtained and send back his companions to camp. Mission complete.
Friends in Very Low Places
The Friends in Very Low Places is the 13th Story Mission in Chapter 3, and the 38th Story Mission in the whole Red Dead Redemption 2 Story Campaign. This mission is unlocked after completing the “Magician for Sport” mission earlier in the chapter. To start the mission, you will have to speak to the freshly rescued Josiah Trelawny at the Clemens Point camp.
To thank the Arthur, who saved him during a previous mission, Josiah Trelawny reveals some interesting information about a friend of his called Alden. This man works at the Rhodes station and, as such, is well informed on the schedule and contents of stagecoaches. Better yet, this man is willing to reveal the information to the Van der Linde gang. Being an interesting proposal, Arthur agrees to go meet Alden together with Trelawny.
To get the Gold Medal for this mission, you need to complete it within 8 minutes and 10 seconds. Like other missions featuring similar Gold Medal requirements, you will have to skip all cutscenes and be as quick as you can.
Once you are done talking with Trelawny, head to the Rhodes station and hitch your horse. Inside, Trelawny will introduce Arthur to Alden, who will ask for money to reveal the information about the choach. Pay him and he will write everything down on paper. Additionally, he also reveals that a colleague named Hector is willing to reveal information about stagecoaches.
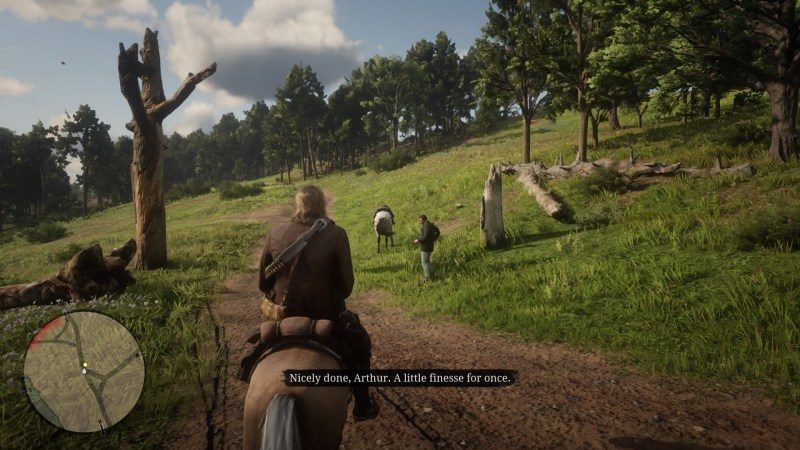
Now that you have the information about the coach it’s time to get the plan into motion. Trelawny will create a distraction for the coach’s driver while Arthur will sneak up behind and loot everything that can be found. Once the coach gets into view, let Trelawny go ahead and stop it, and don’t get too close to it. Wait until the driver is led away from the coach to sneak behind it and open the lockbox. Make sure to not get spotted during this operation, as you need to not get discovered while robbing the coach to get the mission’s Gold Medal.
Once the box has been looted, the coach will leave. Get back to Trelawny to split the money obtained and complete the mission. Make sure to skip the last cutscene as well to save some time.


